In my last article, I discussed whether and how to still get replacements for Sun IDPROMs in 2023.
Repairing Old IDPROMs
However, there's another method that can be considered sustainable: repairing the old IDPROMs. The PROMs themselves are usually not truly defective; rather, the battery built into the casing simply dies after 30 years.
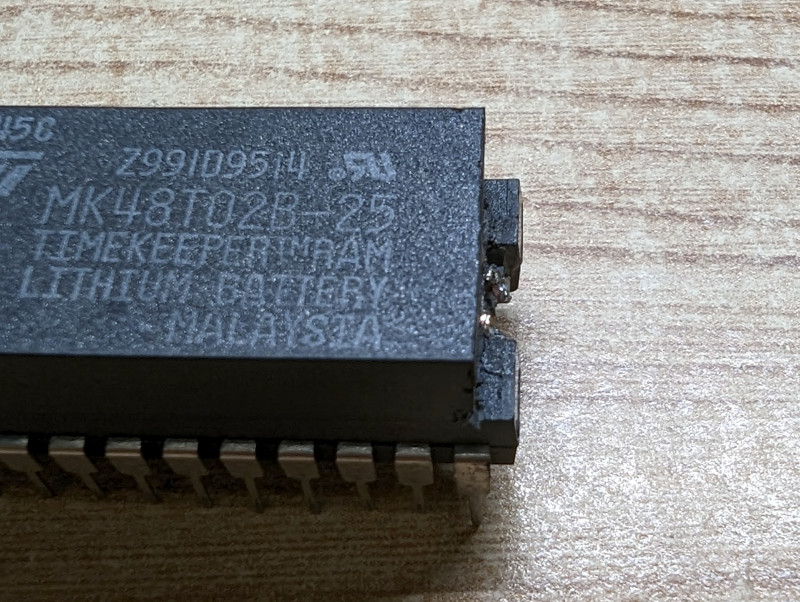
There are various guides online on how to perform this modification. The majority of these involve "dremeling" open the side of the PROM where the battery is connected. The correct side is the one not marked with a dot. If you dremel on the wrong side, you have a good chance of destroying the oscillator located there.
Since I'm not a big fan of the "mess" created by a Dremel, I sought and found my own approach. Instead of a Dremel, the necessary tools are a fine metal saw and small side cutters.
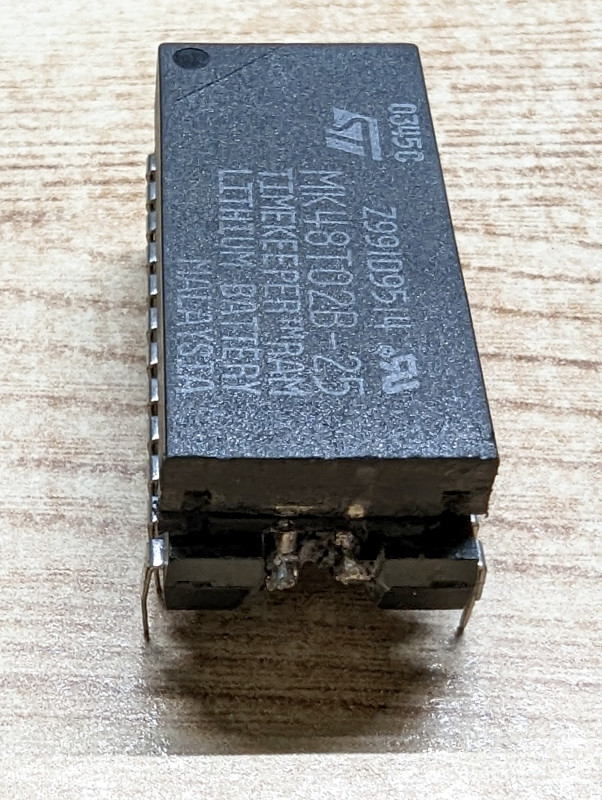
If you look closely at the PROM casing on the battery side, you'll see that the battery connections appear to be encapsulated in resin. My approach is to saw a strip about 1.5mm wide from the top down to the chip housing, then make a saw cut directly above and parallel to the chip to electrically disconnect the old battery, and finally, use the small side cutters to expose the encapsulated connections.
Connecting the New Battery
As usual, a CR2032 battery is soldered to the connections. However, I'm also not a fan of the common method of gluing the holder onto the casing, as the assembly protrudes, and space on the motherboard is quite tight.
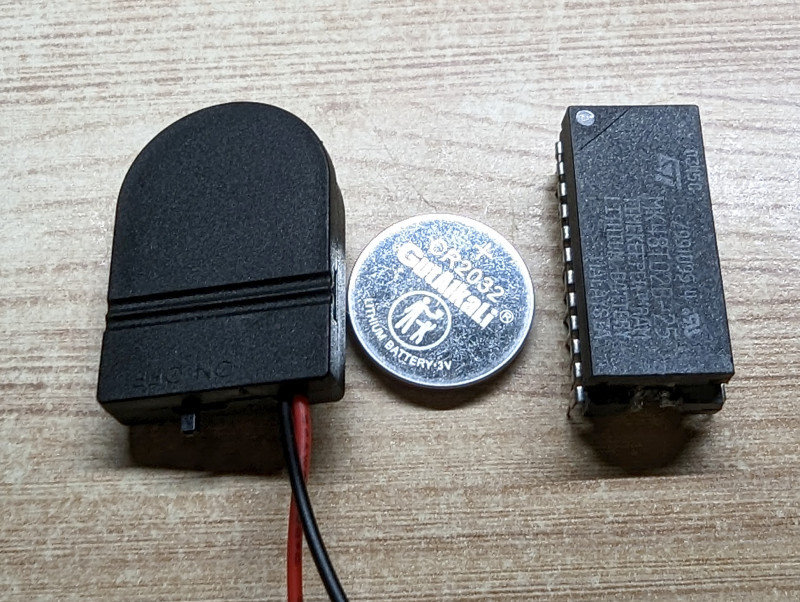
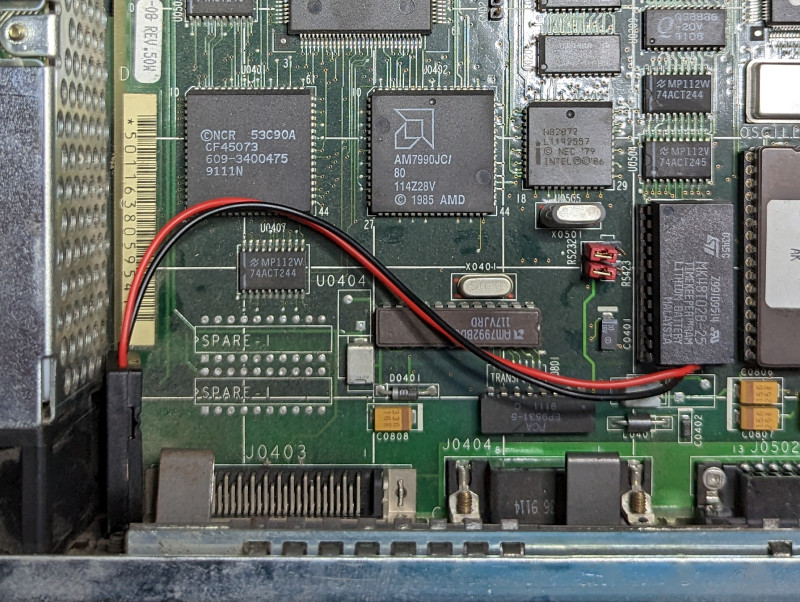
Therefore, I sourced CR2032 holders with longer cables, allowing them to be attached with Velcro to the chassis in a suitable location, for example.

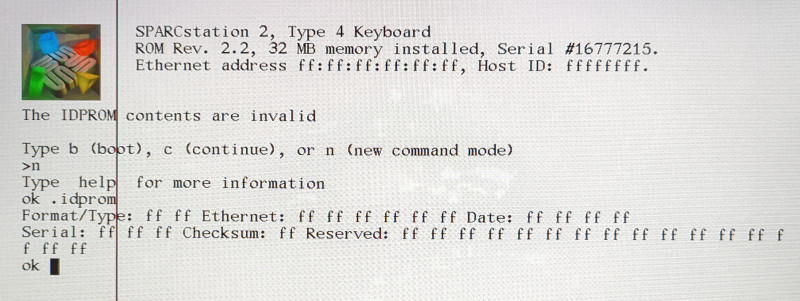
The reward for this effort, after reprogramming the PROM, is a normally booting system. The whole process is done in 5-10 minutes without much mess.
As an idea for improvement, it would occur to me to solder a 2-pin header to the chip instead of cables, so the battery could simply be plugged in.